
When last I reviewed some methods for priming 3D prints, I was…unimpressed with Badger’s new 3D Prime offering. It seemed to be a lot of work in exchange for not much benefit.
But two lingering questions remained…1) Did I use it right? and 2) Do you need the special primer along with the pre-coat?”
Am I Using It Right?
Following posting the last review, someone suggested that the application just needed to be more aggressive. Three thick coats, even if they’re applied through an airbrush. I’ll note Badger said one to three, but I figured we’d give it a go, as I had a lingering test model from the last go-around.
So I loaded up a full cup of the stuff in my trusty Badger 105 and laid in. My technique was appallingly painful – just blast the stuff on like it was a firehose, with absolutely no subtly. Then leave it to dry overnight, before priming, highlighting, and putting down a base coat.
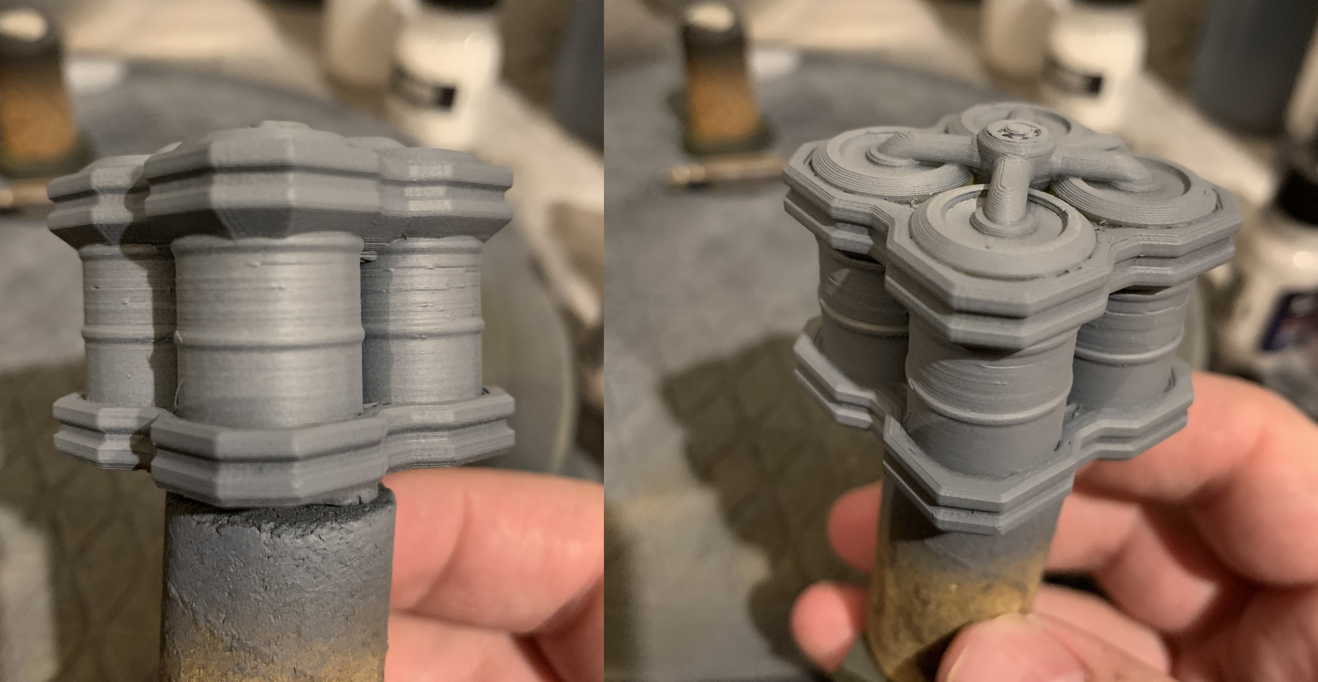
It’s…okay? There’s still visible layer lines, though they are somewhat reduced. But I remain somewhat unimpressed – it required particularly heavy application to get much of anything, and you’re bound to burn through a bottle fast. I’m still not sure it’s worth keeping an entirely different priming system on hand for 3D prints.
Note that this is specifically for PLA prints for terrain. It’s possible that for other applications (PETG or the like) that there’s value there.
Do I Need to Use the Special Primer
My preferred primer is Stynlrez – it’s also one of my go-to paint-on blacks as well. And after their difficulties with the primer working after a freeze-thaw cycle, I tend to lay in a supply in the Fall that’ll last…a long time. So the other lingering question was do I need to actually use the primer as well as the layer-line-kinda-hiding undercoat?
To reiterate, this is for 3D printed terrain purposes. Badger’s talked a lot about the durability of 3D prime, but we’re talking about something that will be handled relatively gently, not get rubbed a lot, and will likely have a sealant coat or two over it as well.
Another test! This time, on a bit from 3D Alien Worlds that I’m working on for a project.
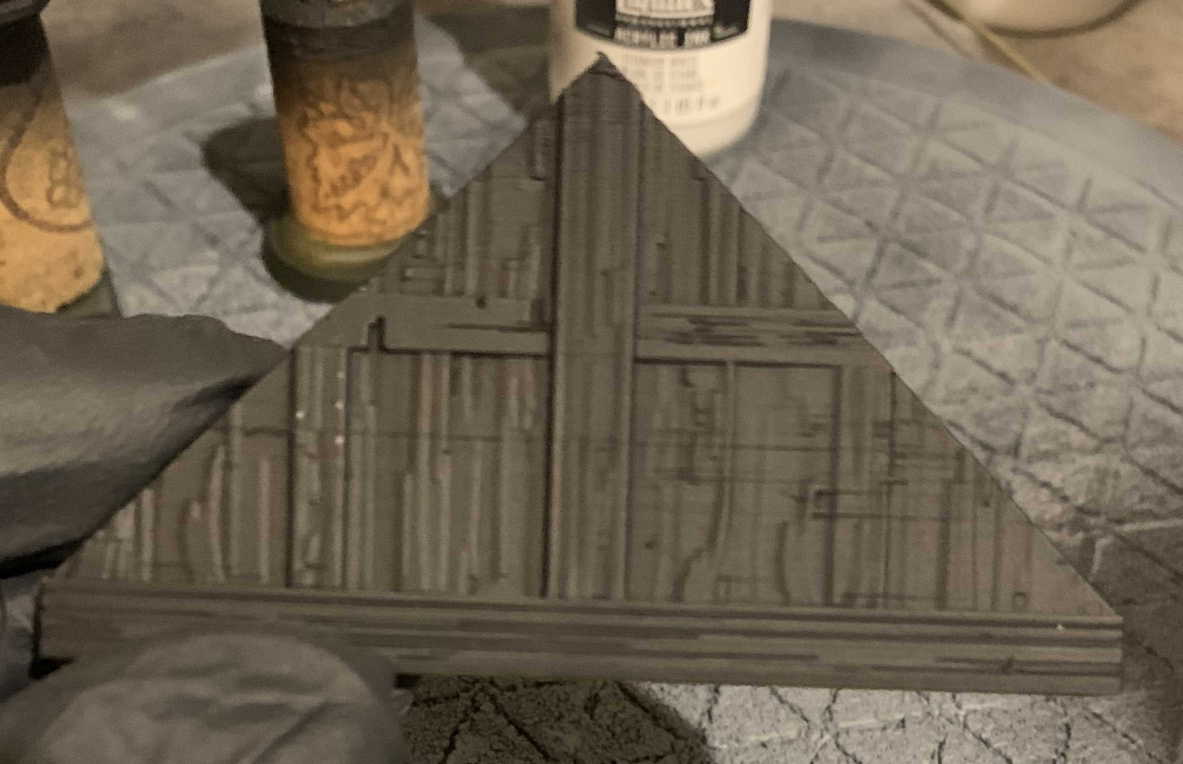
The left side is 3D Prime, the right is Stynlrez. The 3D Prime is a slightly less deep black, and took a little bit of damaged from being masked, but in fairness, I didn’t let it get anywhere close to a full cure before I applied the other side, so I don’t know that I’d hold it against it. After a night of curing, both held up to being rubbed between my thumb and forefinger, having a nail dragged over them, and standard handing.
And when painted?
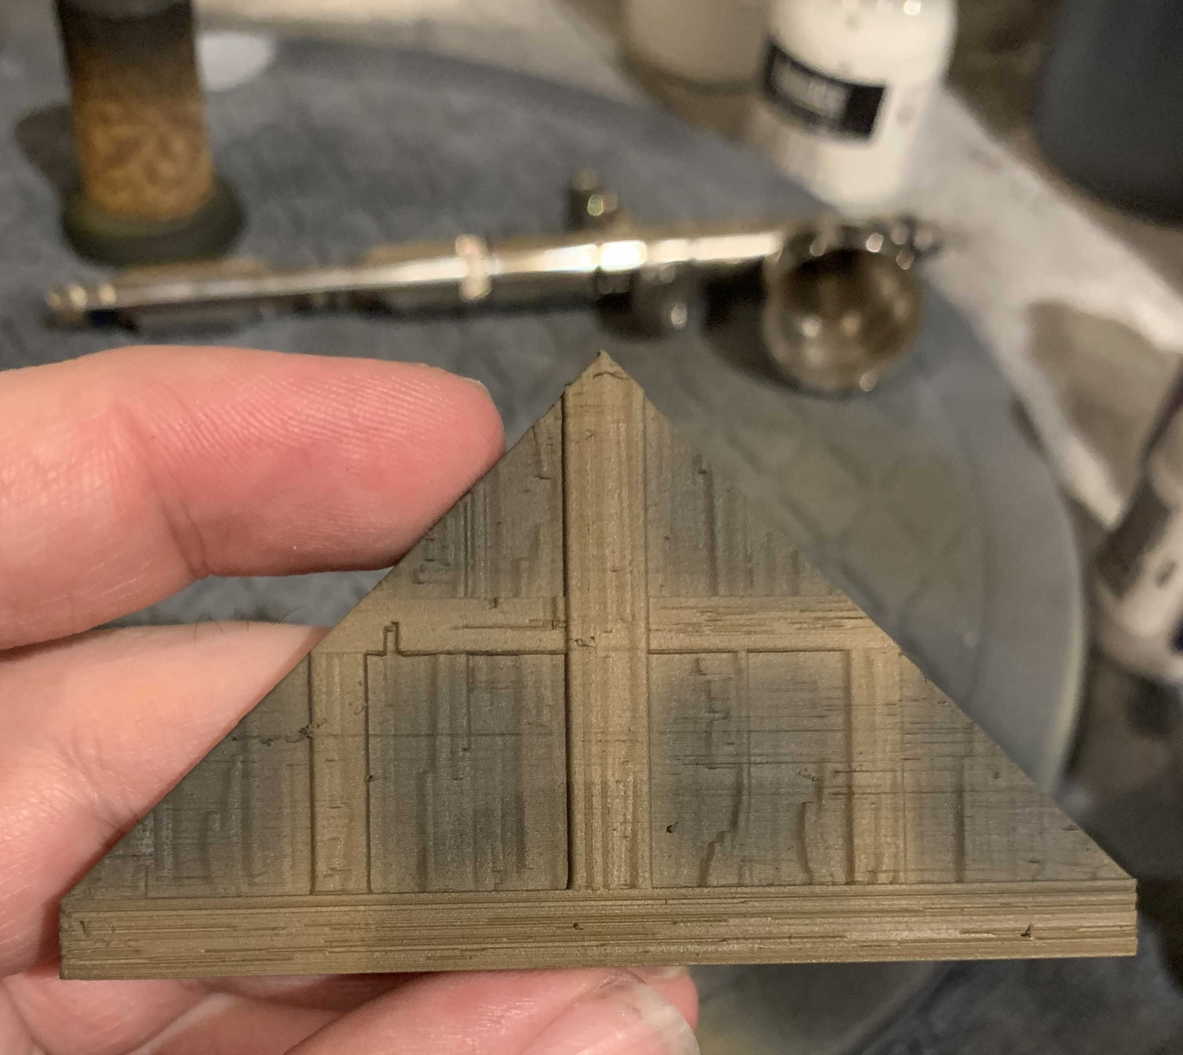
If there’s a visual difference, I can’t see it.
So there we are. The final verdict? I’m not sure it’s using the 3D Prime system, but if you do, you can probably get away with using Stynlrez or another standard airbrush primer over it.
Enjoy what you read? Enjoyed that it was ad free? Both of those things are courtesy of our generous Patreon supporters. If you’d like more quantitatively driven thoughts on 40K and miniatures wargaming, and a hand in deciding what we cover, please consider joining them.
Permalink
I’m new at this but this is my first attempt using the Badger 3D Prime Surface Smoother and primer (see photo at “website”). Does anybody have a good filler for 3D prints?